
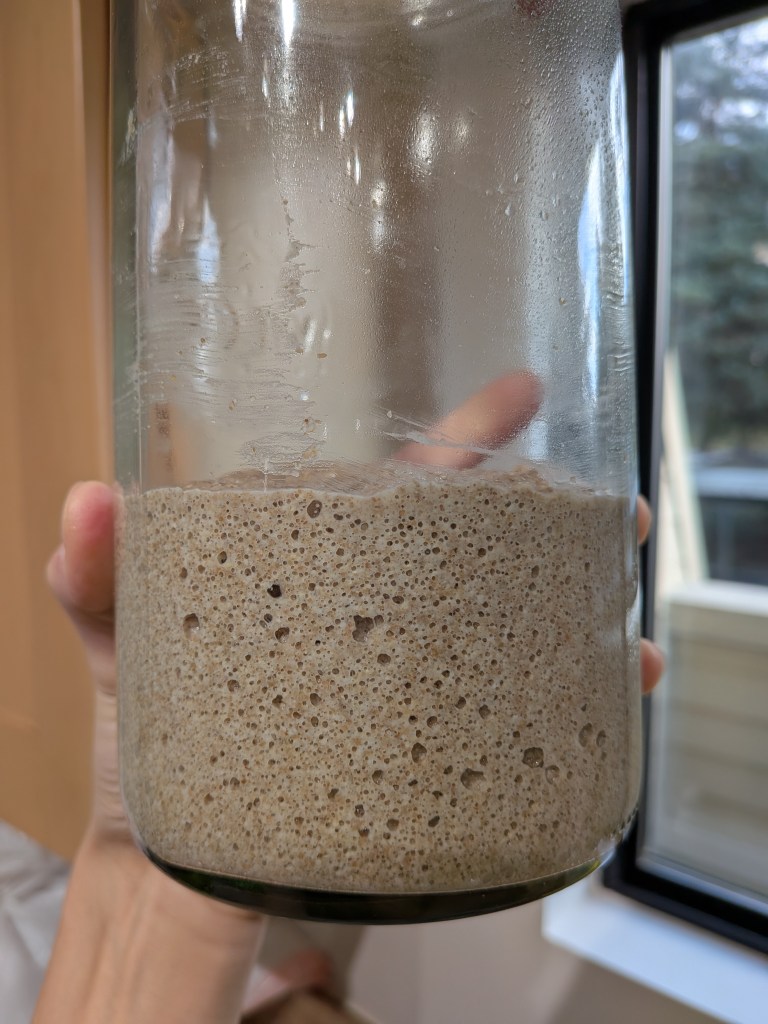
One of the first baking projects I started in the new space was cultivating my sourdough starters (liquid and stiff). As a way of welcoming you to the bakery, I’m sharing the instructions for how I cultivated my starter so that you, too, can experience the joy that is sourdough baking.
Ingredients You’ll Need:
- 4 lb bag of rye flour
- 5 lb bag of all-purpose (AP) flour
- Water
- 4 apples (I used Cosmic Crisp, but any variety works)
Equipment You’ll Need:
- Glass jar (ideally with straight sides to monitor activity)
- Large rubber band
- Kitchen scale
- Spatula
- Vegetable peeler
- Kitchen towel
- (Optional) instant-read thermometer
- (Optional) small sieve
- (Optional) plastic wrap if your jar doesn’t have a lid
(I use cylindrical Weck jars without screw-top lids and simply place the gasket and lid on top between feedings—no clamps.)
Day 1
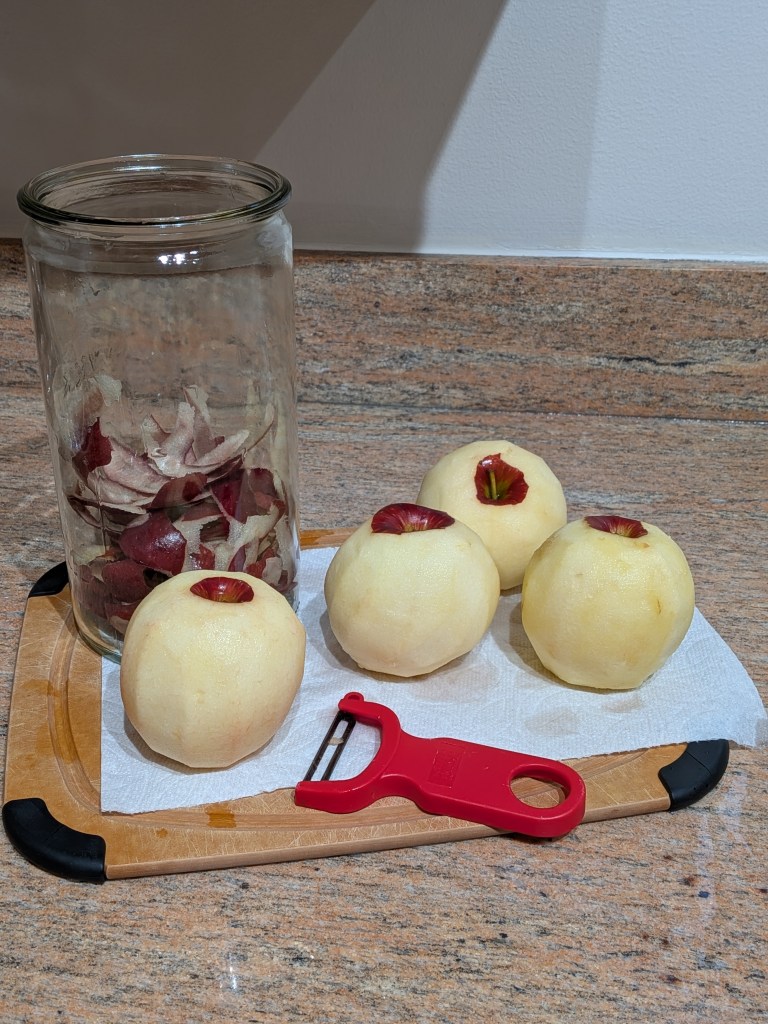
- Rinse, scrub (with your hands), and dry your apples. Do not use vegetable wash or soap.
- Peel the apples and place the skins in a clean glass jar. From four apples, I had about 90 grams of skins, but don’t stress slight variations.
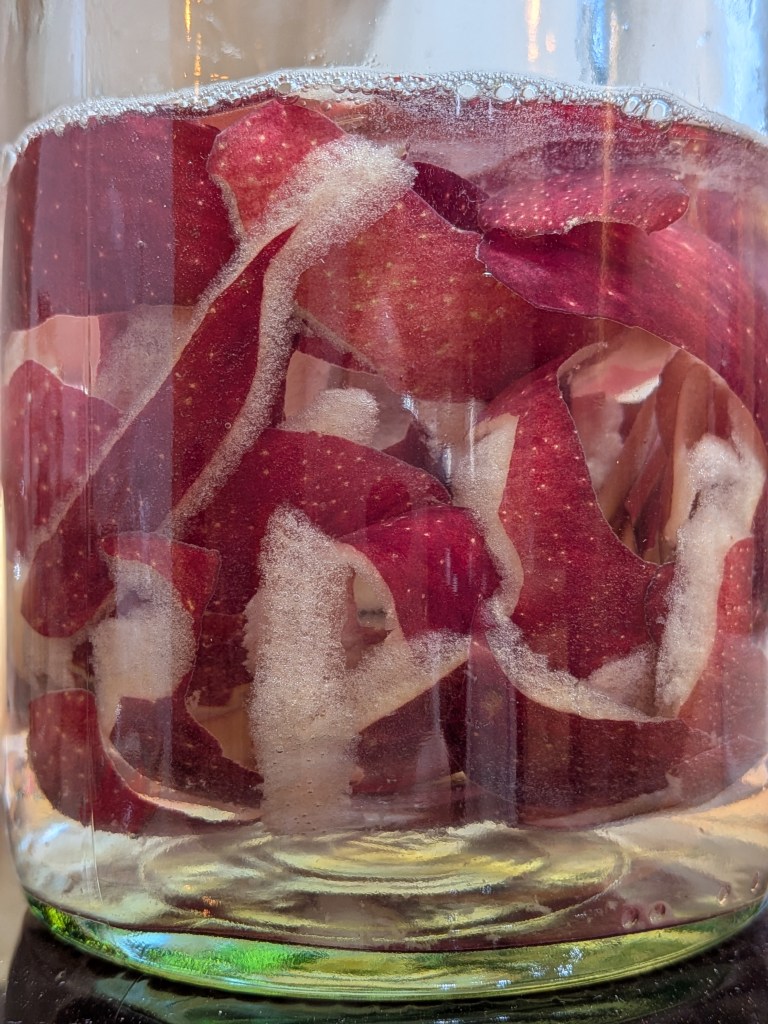
- Cover the skins with 600 grams of warm water (see General Notes below), ensuring they’re fully submerged.
- Let soak for a minimum of 12 hours.
Day 2
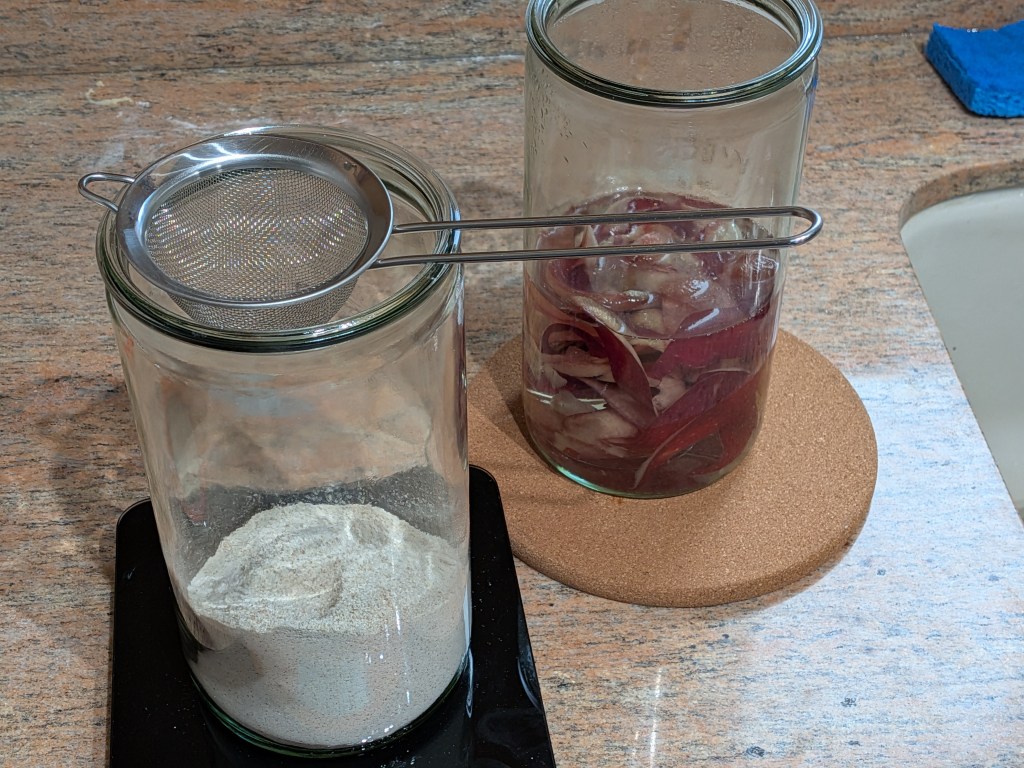
- Strain and reserve the liquid from the apple peels. Discard the peels.
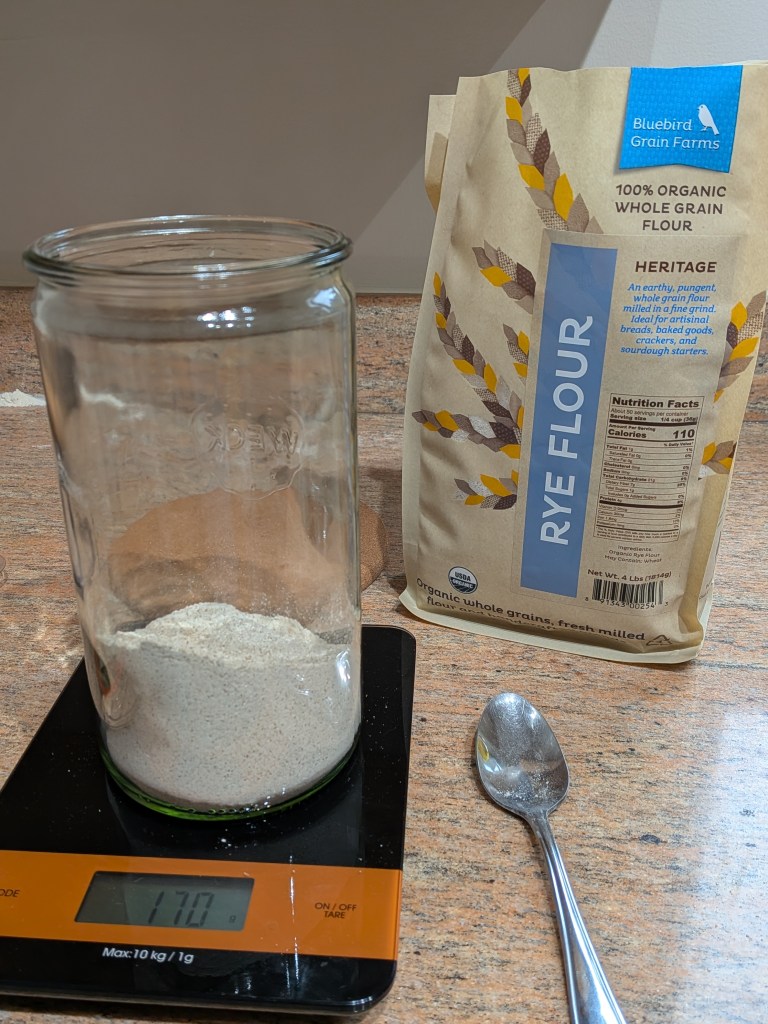
- Mix 200 grams of the apple water with 170 grams of rye flour. Use your spatula to slap/aerate the mixture, cleaning the sides of the jar before covering.
- Let rest for 24 hours.
You’ve now created your “chef.”
Day 3
- Refresh the chef using a 1:1:1 ratio (chef : water : rye flour). Aerate well and clean the jar sides.
Example:
110 g chef + 110 g water + 100 g rye flour
- Let rest for ~24 hours.
Day 4
Today, you can split your starter into a stiff or liquid version, depending on the flavor profile and bakes you want to create. Stiff starters cultivate more acetic (tangy) fermentation, while liquid starters lean lactic (softer, milky). Same effort—just preference.
Refresh ratios:
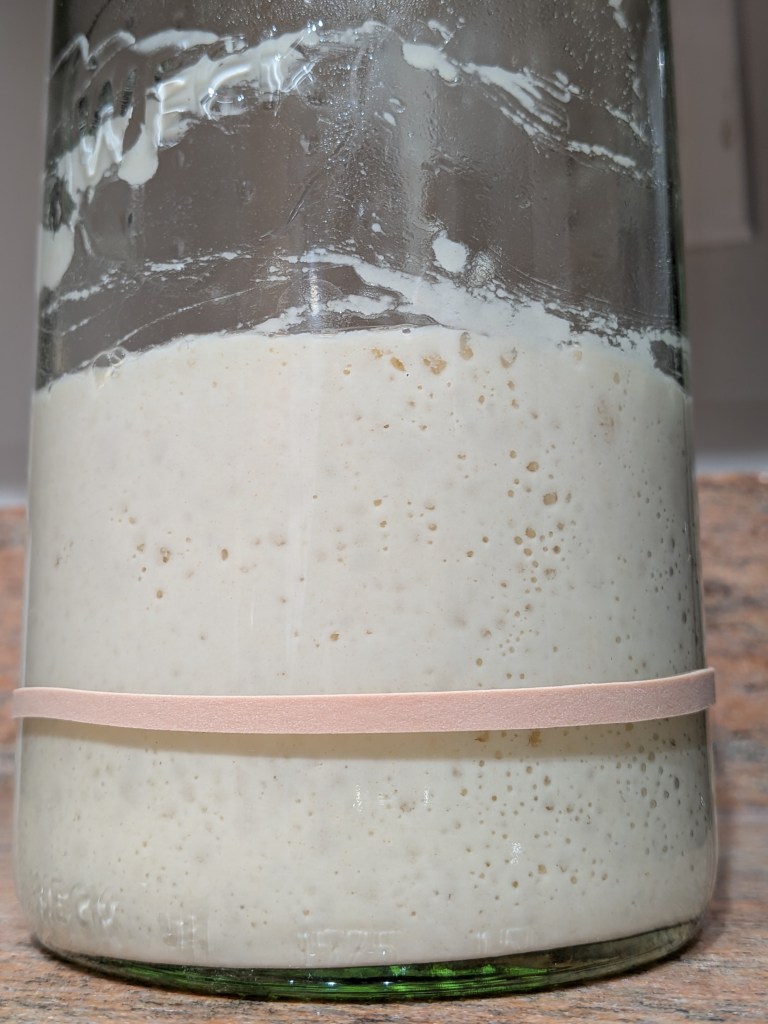
- Liquid: 1 part chef : 2 parts water : 2 parts AP flour
- Stiff: 1 part chef : 1 part water : 2 parts rye flour*
*Depending on your rye flour, you may need to reduce this to 1.8 parts. You’re aiming for a Play-Doh-like consistency.
Let rest for ~24 hours.
Day 5+
- Continue feeding both starters using Day 4 ratios.
- Mark the starter’s height post-feeding with a rubber band.
- Let rest for ~24 hours.
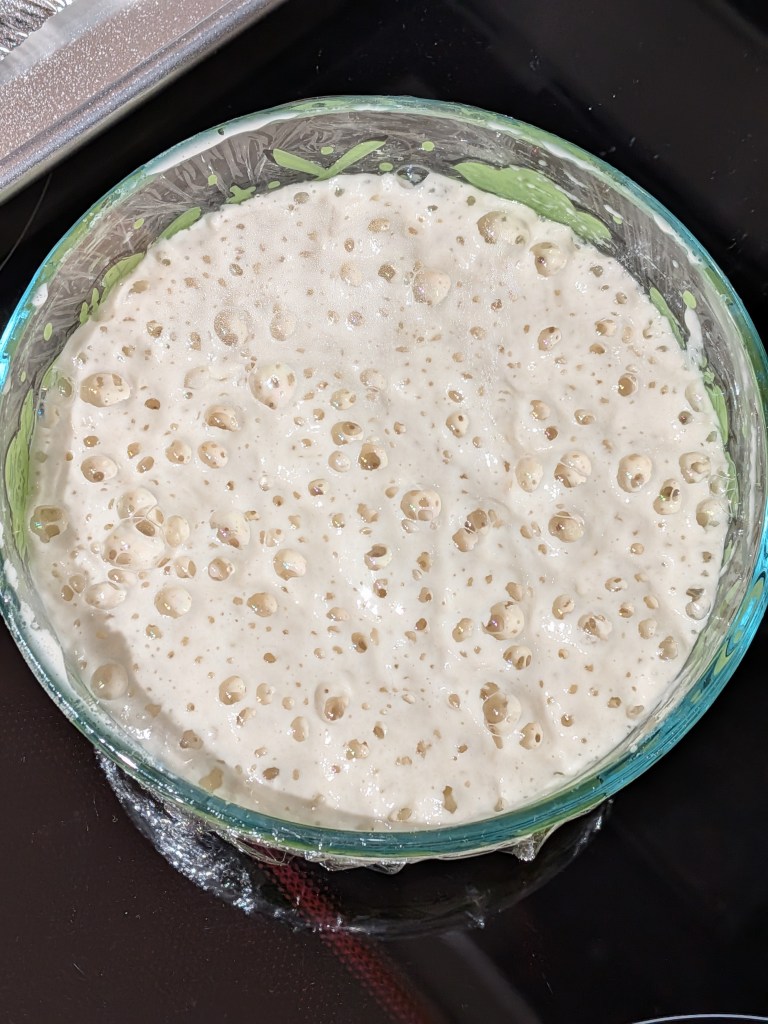
Repeat daily until you can reliably predict when your starter reaches peak activity. In winter, mine takes about 12 hours. I feed it before bed and wake up to a bubbly, active starter ready to use. Expect faster activity in summer.
It generally takes about two weeks to build a strong, bake-ready starter.
General Notes
- Think of yeast like cats—it/they like warm, cozy places. Use water at 25–35°C / 77–95°F. Never exceed 50°C / 122°F or you’ll kill activity.
- Don’t pour sourdough discard down the sink. Scrape it into the trash before washing dishes to avoid plumbing disasters (learned the hard way by others!).
- If you have a temperature- and humidity-controlled proofer: lucky you. Otherwise, don’t stress. My kitchen sits around 16–20°C / 60–68°F, and I still built strong starters in two weeks.
And that’s it! You can now use your starter for a wide range of artisanal bakes—and even incorporate discard into cookies and batters.


Leave a Reply